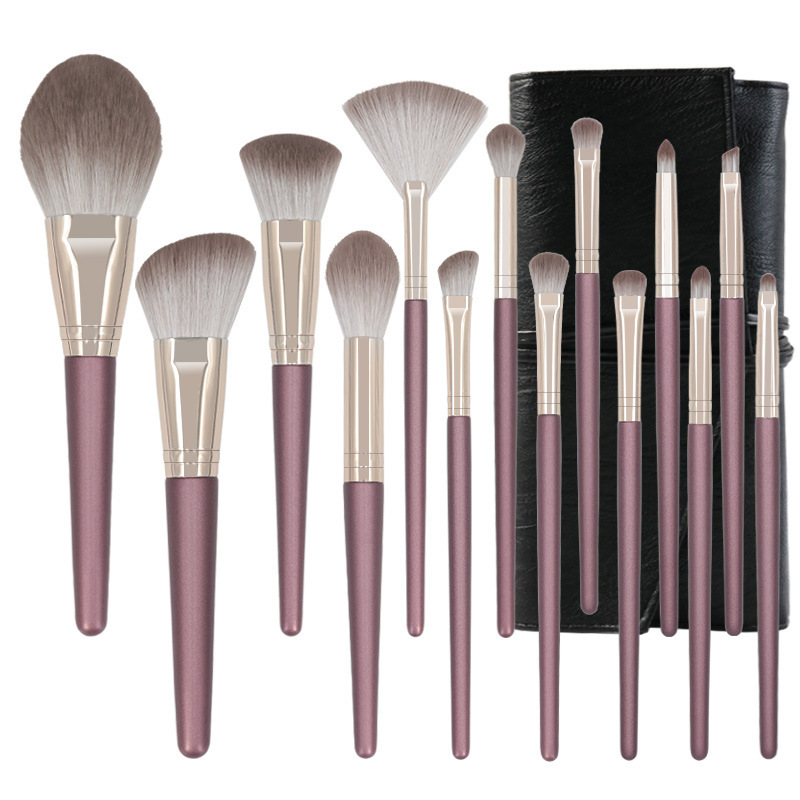
MAKEUP BRUSH HYGIENE TIPS FOR YOU AND YOUR CLIENTS
Here’s a question that is asked of cosmetologists and makeup artists everywhere: “I know that you clean your brushes and equipment regularly, since you have multiple clients, but how often should I be cleaning my own brushes? And what is the best way to do that?” It’s a good question, one that any client who wants to truly care for their skin will ask. After all, refusal to care for the brushes will shorten a brushes’ lifespan and cause poor performance, as well as more frequent skin breakouts from the bacteria. Here’s the answer:
Foundation & Pigment Application Tools
The brushes and sponges you use to apply foundation should be soaked at least once a week, according to experts. This will prevent product buildup that will render your brushes crusty and unuseable, as well as unsanitary.
Eyeshadow and Liner Brushes
These should be cleaned at least 2 times a month, say makeup experts. Not only will regular cleaning keep bacteria away from the delicate eye area, it will also extend the lifetime of your brushes!
Now that your clients know when to clean, it’s time to talk how. There are specialized tools and machines mae for this process, but for those who don't want to spend a lot to ensure clean, hygienic brush care, here’s how to do it at home, with basic tools available to you:
Makeup Sponge Cleaning Routine:
1.Soak your makeup sponge in warm water until it has absorbed all it can.
2.Lather up your sponge with gentle soap, shampoo, or makeup sponge cleanser and massage all the product out of your sponge. If it’s been a while since the last time you’ve cleaned it, you might need to repeat this step more than once.
3.Rise up your sponge until the water running through it is clear. This will take more than one wash, and it’s important to make sure that ALL the soap and suds are gone from your sponge.
4.Wring out the water like you would with a dish sponge, carefully. Then press between a soft towel to dry. If you like using your makeup sponge dry, then leave it out to air dry, otherwise, if you enjoy using your makeup sponge damp, feel free to jump right in, no need to wait any longer!
5.What to Watch Out For: While the recommendation is to wash your sponge once a week, you might want to wash it more often if you use it heavily or more than once a day. A good rule of thumb is: If you can’t find a clean spot on your sponge to work with, it’s time for a wash.
6.Also, MOLD. Like any sponge, your makeup sponge will absorb a lot of moisture during its use, and could pick up mold. If this happens, it’s time to discard and start using a new sponge. You DO NOT want to be applying makeup with a moldy sponge.
Makeup Brush Cleaning Routine:
1.Rinse your brush under running water, with the brush facing down. While it’s tempting and might “work faster” we do not recommend running water directly into the base of the bristles, as this can loosen the glue holding your bristles in place and shorten your makeup brushes’ lifespan. Rinse until the bristles are all wet.
2.With gentle soap, shampoo, or makeup sponge cleanser lather your brush bristles gently and rinse out until you’ve worked all the product out. Top Tip: If there is stubborn product that won’t wash away with gentle working, apply some coconut oil to your brush bristles, it’ll take care of it immediately. Keep lathering and rinsing your brushes until the water runs clear.
3.This step is vital. Once your brushes are clean, they need to be disinfected. Create a solution of 2 parts water to 1 part vinegar and swirl the brush through the solution for about 1-2 minutes. DO NOT submerge the brush completely, that will wear away at your brush’s lifespan. A shallow dish should do the trick, and only the bristles need to be submerged.
4.Squeeze all the moisture out of your brushes with a towel. Do not wring forcefully as this can yank bristles out of your brush and damage it.
5.Unlike sponges, makeup brushes will not automatically fall back into their original shape. Once you have squeezed the moisture out of your brushes and before they dry completely, reform your brush heads into their original shape. Then place the brushes on the edge of your counter to dry, with the brush heads hanging over the edge. DO NOT leave our brushes to dry on a towel--they will become mildewy and often this leaves round brushes drying with a flat side.
Post time: May-05-2022


